
DIY Tips for Small Parking Lot Crack Repairs


Maintaining the integrity of a parking lot is essential for safety and aesthetics. Over time, small cracks can develop in the pavement due to weather and wear. These minor imperfections, if left unattended, can lead to more significant issues. Fortunately, with some basic tools and materials, you can perform DIY repairs that will extend the life of your parking lot.
Why Repair Cracks Early?
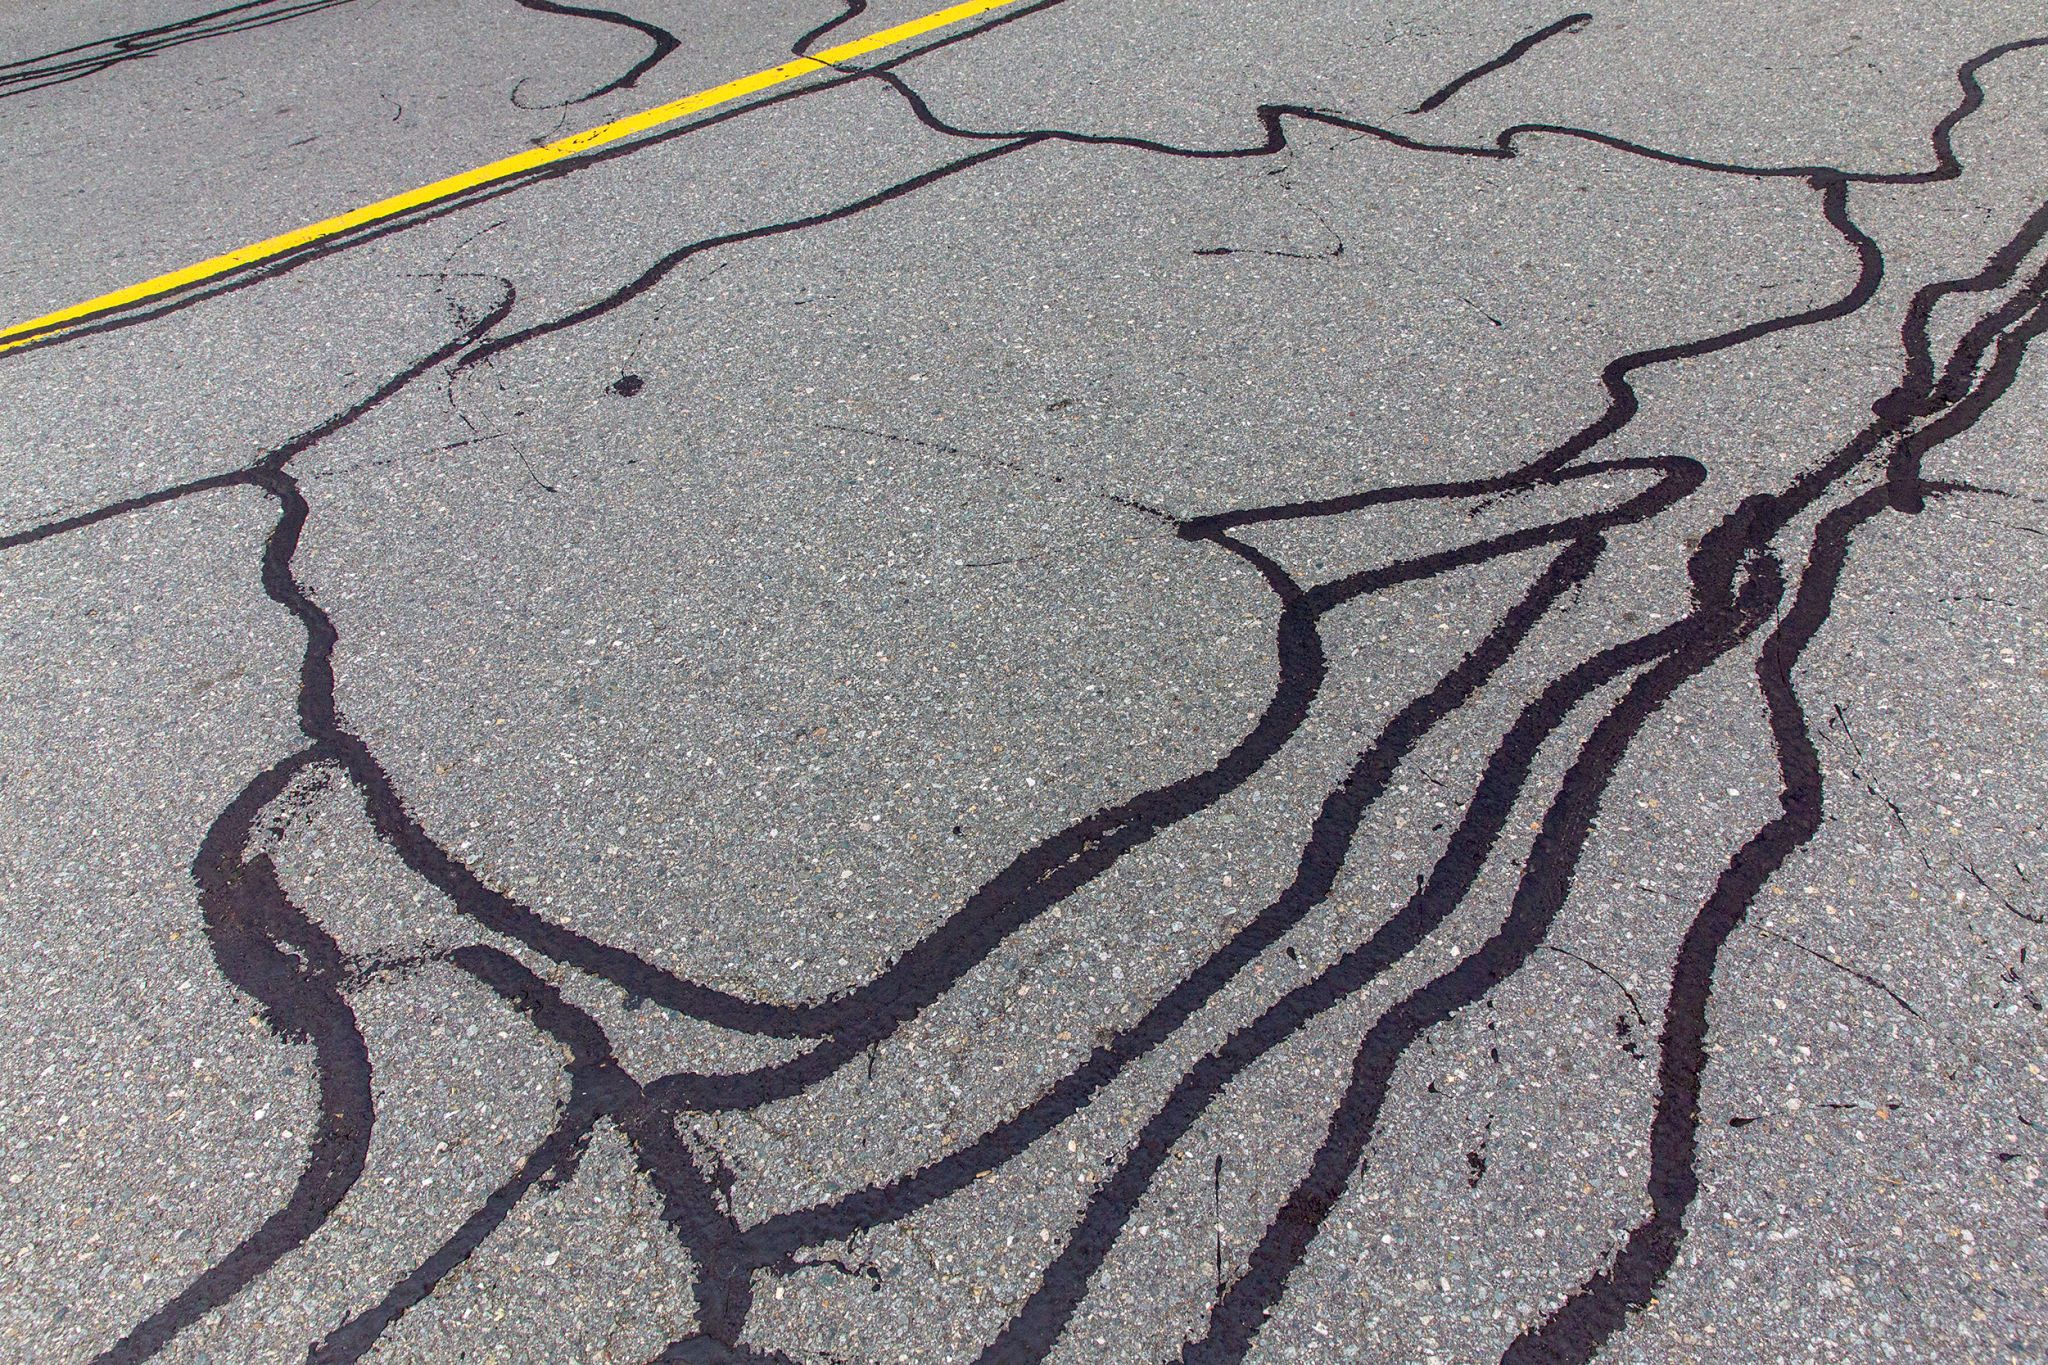
Addressing cracks as soon as they appear is crucial. Even small cracks can allow water to seep beneath the surface, causing erosion and further deterioration. Early intervention can save you from costly repairs in the future and help maintain the visual appeal of your lot.
Moreover, repairing cracks prevents them from widening, which could pose tripping hazards and potentially lead to accidents. Keeping your parking area safe should be a priority for both aesthetic and liability reasons.
Tools and Materials Needed
Before starting your repair project, gather all necessary tools and materials. Having everything on hand will streamline the process and ensure a smooth repair job.
Essential Tools
- Broom or leaf blower for cleaning debris
- Wire brush for scrubbing cracks
- Chisel or screwdriver for clearing loose material
- Sealant or crack filler designed for asphalt surfaces
- Putty knife or trowel for applying filler
Materials
- Asphalt crack filler or sealant
- Sand (if needed to fill larger gaps)
- Protective gloves

Step-by-Step Repair Process
Once you have gathered your tools and materials, follow these steps to repair the cracks effectively:
- Clean the Area: Begin by thoroughly cleaning the crack and surrounding area. Use a broom or leaf blower to remove loose debris, dirt, and dust.
- Prepare the Crack: Use a wire brush to scrub the inside of the crack. This helps remove any loose asphalt pieces. A chisel or screwdriver can assist in dislodging stubborn debris.
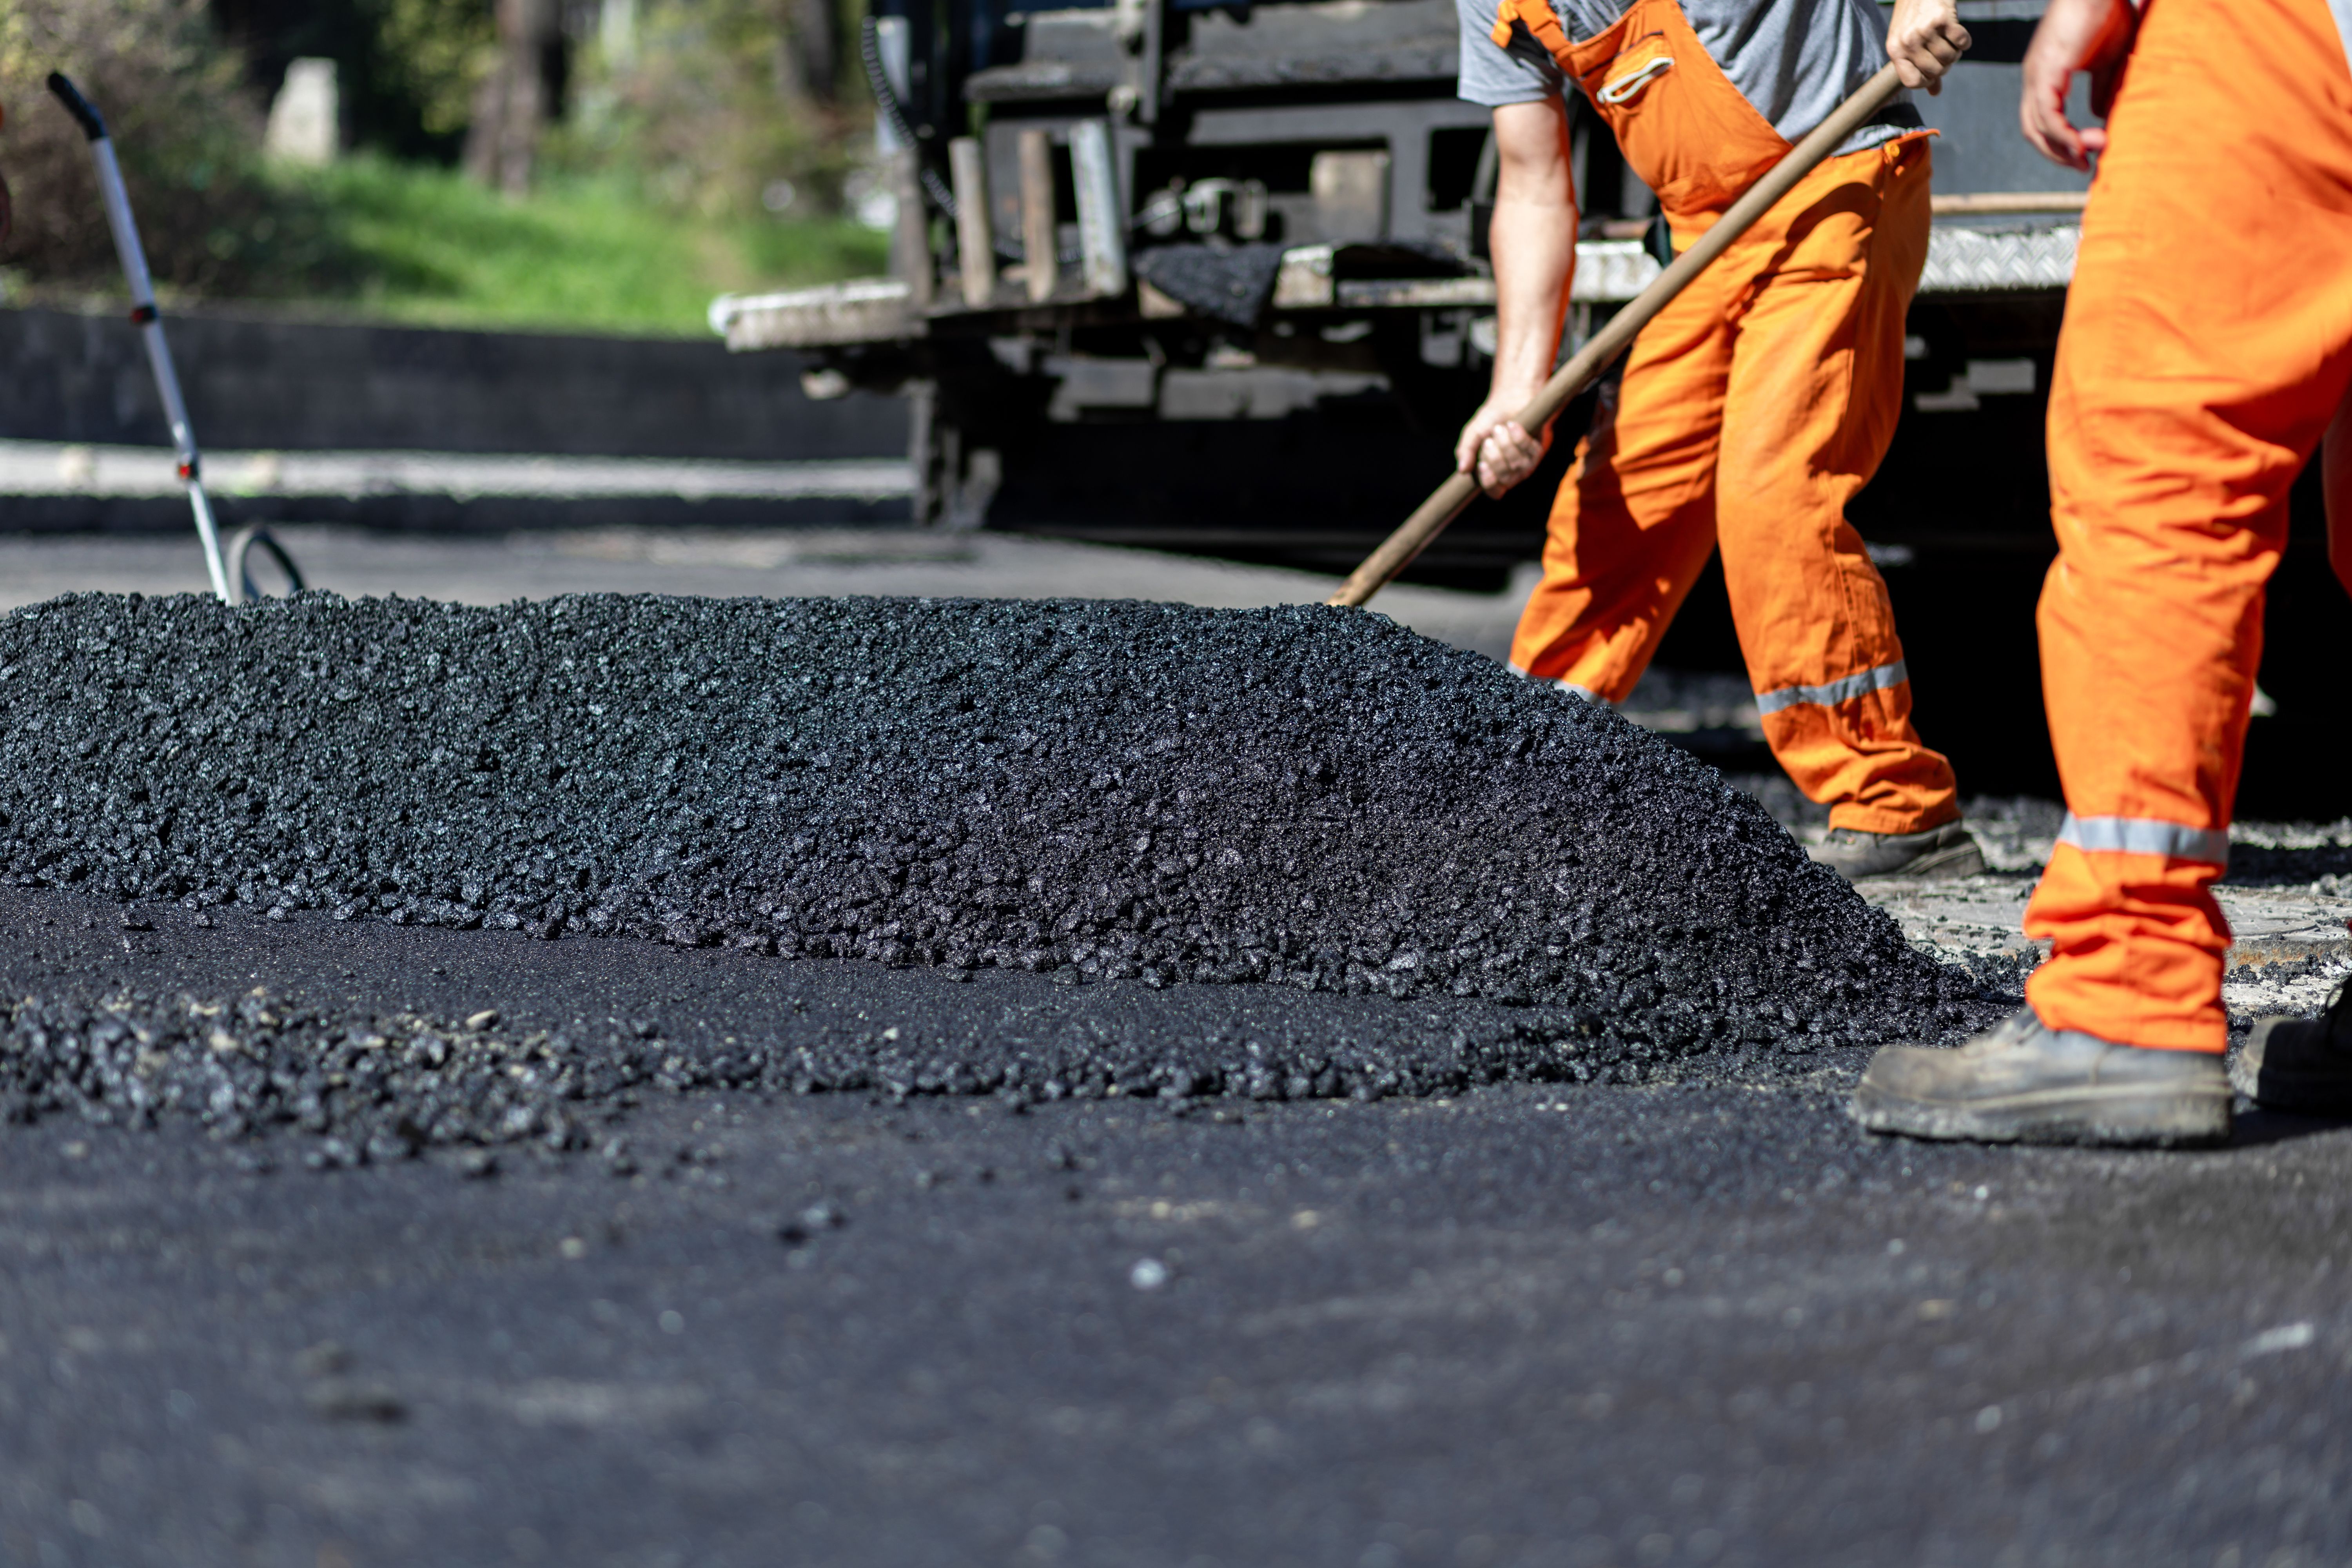
- Fill the Crack: For small cracks, apply an asphalt sealant or filler with a putty knife or trowel. If the crack is more extensive, fill it with sand up to about half an inch from the surface, then apply the filler.
Finishing Touches
After filling the cracks, allow the filler to cure according to the product instructions. Most fillers require at least 24 hours to set completely. During this time, it's essential to keep the area free from traffic and avoid water exposure.
Once cured, check the repair area for any irregularities. If necessary, apply a second layer of filler for a smoother finish. Regularly inspect your parking lot for new cracks and address them promptly using these steps.
Preventive Maintenance Tips
Regular maintenance is key to preventing future cracks. Consider sealing your parking lot annually with a quality sealcoat product. This protective layer acts as a barrier against water, oil spills, and UV damage.
Additionally, keep your parking lot clean from debris and regularly inspect it for early signs of wear. By staying proactive, you can ensure that your parking lot remains in excellent condition for years to come.
Tackling small crack repairs yourself not only saves money but also gives you confidence in maintaining your property. With these DIY tips and regular upkeep, you can preserve the safety and appearance of your parking lot efficiently.